Learn to Brew Full-Flavor World-Class Gluten-Free Beer
Gluten-Free Brewing: Techniques, Processes, and Ingredients for Crafting Flavorful Beer by Robert Keifer is essential reading for all brewers.

The following is an excerpt from How to Make Hard Seltzer: Refreshing Recipes for Sparkling Libations by Chris Colby, chapter nine "Seltzer Cocktails Anyone Can Make:"
"Hard seltzers are meant to be simple beverages. Hard seltzer aficionados choose them as low-calorie, moderate-alcohol beverages without pretense. Still, there may be occasions when you want to do more than drink hard seltzer from a can or serve the beverage by itself in a glass. If you are hosting a party, or you are the manager at a brewpub that makes hard seltzer, finding ways to gussy up a plain-Jane hard seltzer may generate some interest from your guests. Below are some cocktails that you can mix up by using various ingredients to play with flavor and aroma."
The following Michigana recipe calls for lime flavored hard seltzer in a sparkling take on the Michelada cocktail.
For 3 servings
Calories per serving: 130
ABV: roughly 5%
two 12 fl. oz. (355 mL) Mexican-style lagers
one 12 fl. oz. (355 mL) lime flavored hard seltzer
3 fl. oz. (90 mL) tomato juice
¼ fl. oz. (7 mL) Worcestershire sauce
½ fl. oz. (14 mL) hot sauce (e.g., Cholula Hot Sauce)
Mix the beer and hard seltzer together. Stir in the tomato juice, Worcestershire sauce, and hot sauce. Garnish with a lime and coat the rim of the glass with a 2:1 mixture of salt and chili powder, if desired.
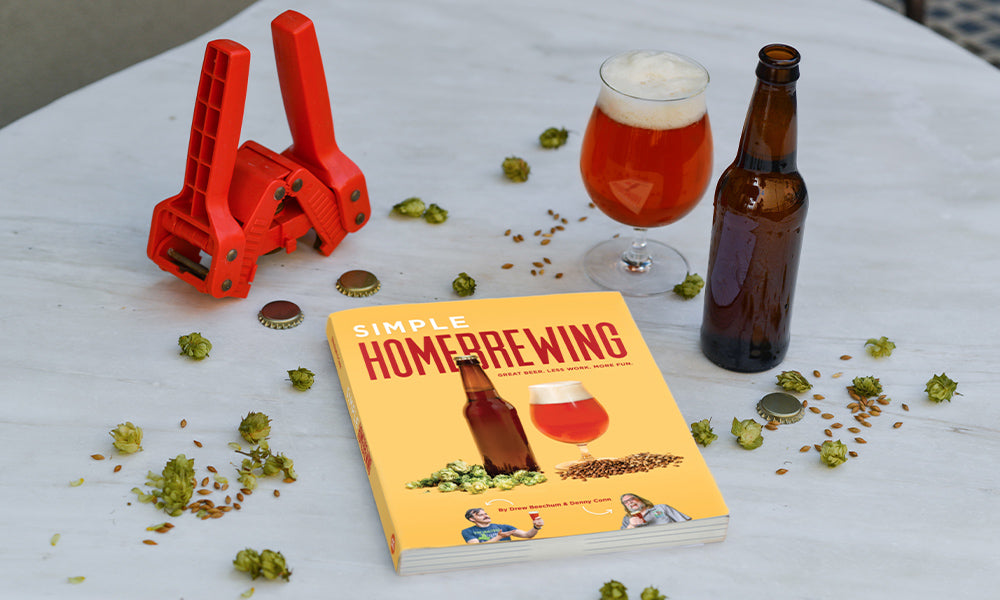
Remember, this is a fun hobby. Don't stress! Things may not go exactly as planned. If that happens, there are 2 upsides. First, you'll learn what to do (and NOT do) on your next batch. And you're gonna make beer, no matter what happens! —Author Denny Conn
 The only thing that differentiates a small-batch brew from a normal-sized batch brew is that it’s smaller…duh! You use a lot of the same equipment and processes that you’d use for larger brew sessions. But there are a few differences and most of them are actually advantages. So, here’s a quick walk through of a small-batch brew.
 While there’s no reason you can’t brew small extract batches, the technique really makes a lot of sense if you brew partial mash or all-grain. Brewing a five-gallon all-grain batch can mean a lot of equipment and space. Not only does small-batch brewing take less of both of those, but because it’s easy to do indoors it’s a great solution in cold winter or hot summer climates.
 We’re going to assume that this is a 1 gal. (3.8 L), all-grain batch. The first step is to heat up about 1.5 gal. (5.7 L) of water. Start with cold water, because many water heaters, especially older ones, can have mineral buildup in them. To speed up heating the water, look around your kitchen for inspiration. Put half the water in the pot you’re going to be using for brewing and put that on your stove or induction burner. Put the other half in a microwave-safe container and start heating it in the microwave.
After about 5 minutes on high, check the temperature of the water in the microwave. It will heat much faster than the water in the pot, so the idea is to add the microwaved water to your pot as a “booster” to increase the temperature in the pot. (If you are using extract, you want to get the water as close to boiling as possible.) For your mash, average the temperatures of the two containers of water to help you hit your mash temperature. For example, let’s say you want to hit a 153°F (67.3°C) mash temperature. The water heating slowly in the pot is 85°F (29.5°C) and the microwave water heating quickly is 185°F (85°C). The average temperature if you add an equal volume of each together is 135°F (57.3°C). You need to keep heating both. Yes, you do have to do math on the fly, but it’s not too painful. And the advantage is that you’ll get to your temperature much more quickly than you would if you just heated the whole gallon and a half in the pot.
 Once you get to your desired temperature, add your grain and check the temperature again. If you’re below your mash temperature, keep heating until you just barely get there. If you’re over temperature, head to the freezer, grab a few ice cubes and drop them in. Don’t worry if your temperature is a few degrees under or over for a few minutes. It won’t really make much, if any, difference to your beer. Just get the temperature adjusted within 5 minutes or so and you’ll be good. Once you get to temperature, turn your burner off (or down to low), put the lid on the pot, and sit back and wait for the mash to finish. Alternately, you can use your oven to maintain mash temperature. Since most ovens don’t allow you to set the temperature low enough for a mash temperature, you can heat up your oven, then turn it off and place the pot with your grain in it.
 Once you’ve mashed for the amount of time specified in your recipe, strain the grain from the pot. Use a sieve and carefully pour the wort through it or use another strainer device to pull the grain out of the wort. If you’re going to sparge (an optional step of using hot water to rinse the grains after being removed from the pot), put your grain in a large strainer or colander and pour 180°F (82°C) water over it. If you’re not sparging (which reduces the amount of sugar you get from the grain, but it’s way easier), just go ahead to the boil step. (We’ll cover other ways you can sparge in “What’s in Your Kitchen?” below; the section following that looks at brew-in-a-bag, which makes for an easy way to remove the grain from the pot.)
 Boil the wort for the amount of time specified in your recipe, adding hops as called for. If you want to save some time, you can add 50% more bittering hops than your recipe calls for and do a 20-minute boil (see “Speed Brewing” on page 32). Keep all other hop amounts as your recipe says.
 Once you’ve added the hops and your wort has boiled, you need some way to cool it down before you add the yeast. This is another area in which small-batch brewing shines. Rather than use a dedicated wort chiller, you can simply plop the loosely covered pot into your sink, fill the sink with cold water, and let the wort cool. (We’re assuming a metal sink here. If you’re using a plastic utility sink, safeguard the bottom!) You’ll probably need to change the water once or twice as it absorbs heat. When you replace the water the second or third time, add some ice to the water. You can add ice earlier, of course, but it won’t do as much good. The key to cooling is to keep the temperature difference between the water and wort as high as possible. When you first begin to cool, the wort will be very hot and the water very cold. As the wort cools down, that difference becomes less. Adding ice to lower the water temperature at that point will help keep your “delta” (the temperature difference between wort and water) as high as possible.
 Cool your wort until the temperature reaches about 65°F (18°C). You can check the temperature with a sanitized kitchen thermometer, just be sure it’s really clean! Once you reach the right temperature, you can use a sanitized strainer (and funnel if you ferment in carboys) to help you transfer the wort to your fermentor. Or you can use the really easy method—simply pitch your yeast right into the wort in your pot! The pot is already sanitized from the boil. The upside of this method is that it’s easy; the downside is that you can’t use the pot again until the beer is finished fermenting. But, back in the plus column, small batches take less time to ferment than larger batches. So many choices, and they’re all yours! FYI - smaller batches require less yeast too!

Most people, including us, like to keep separate gear for brewing and cooking. But you can certainly use the same equipment if that fits your style. Just make sure what you use for brewing is clean and clear of cooking residue! There are many things you can commandeer from the kitchen:
• stockpot
• plastic spoons*
• thermometer (make sure it’s accurate)
• strainer
• bowls
• pitchers
• measuring cups and spoons
• towels (if you’re like Denny, LOTS of towels!)
• milk and/or juice jugs for fermentors*
• jars or resealable plastic containers to store yeast for reuse*
• aluminum foil (a.k.a. homebrewer’s duct tape)
• timer
* Be aware that plastic implements and containers can sometimes retain flavors or aromas from their original use, especially from contact with strong-flavored foods like pickles, chili, and curry. Make sure yours don’t!